User Guide
Step 1 - Connect your S3 bucket
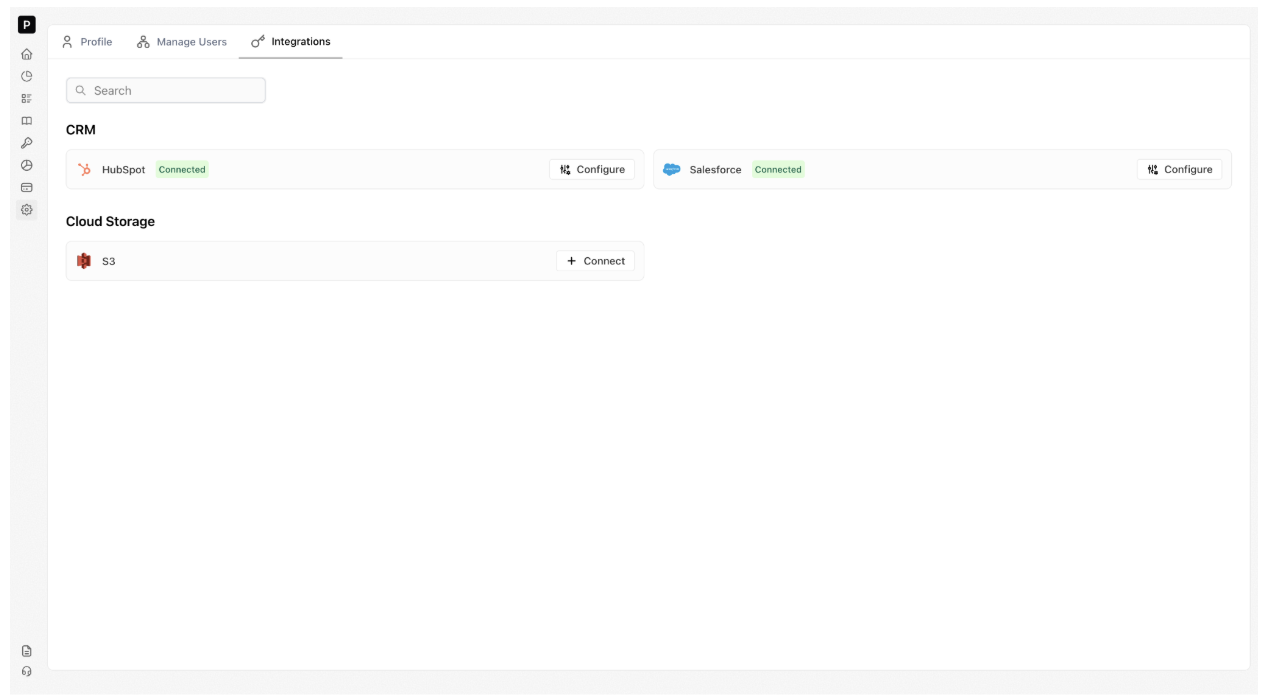
Navigate to the integration:
- Go to Settings → Integrations → S3
- Click Connect
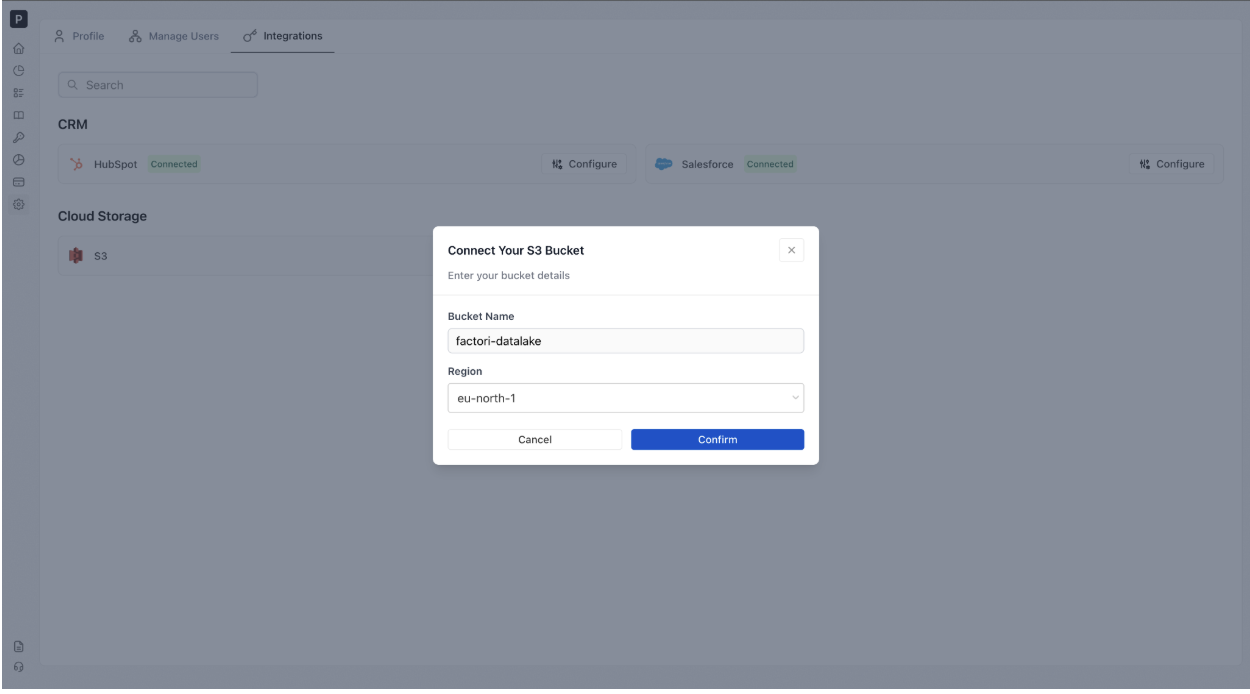
Step 2 - Enter your bucket details:
- Provide your Bucket Name and AWS Region.
- Factori does not require access keys or secret tokens.
- Authentication is handled securely through IAM Role Assumption.
Step 3 - Configure IAM Access
-
If you have already created a Factori CloudFormation stack, enter the generated Role ARN.
-
If not, click Continue to AWS
- This opens a pre-filled AWS CloudFormation template.
- Complete the stack creation process.
- After deployment, navigate to the Outputs tab.
- Copy the generated Role ARN and paste it into Factori.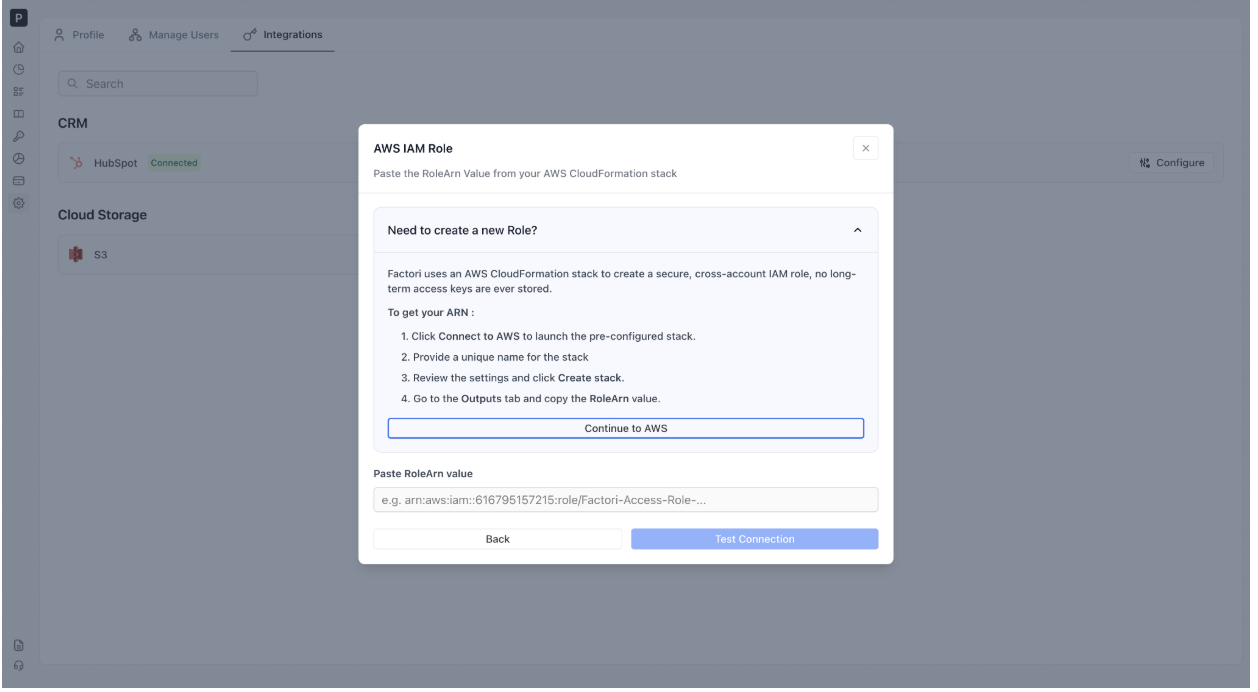
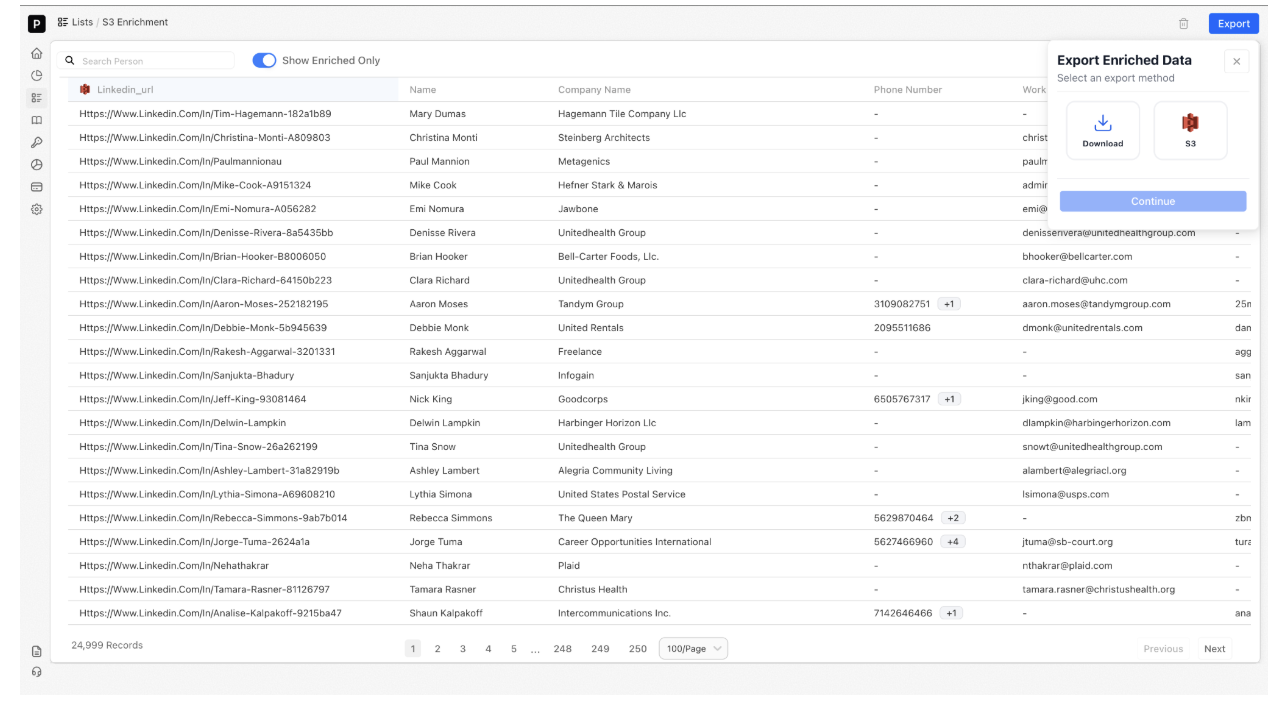
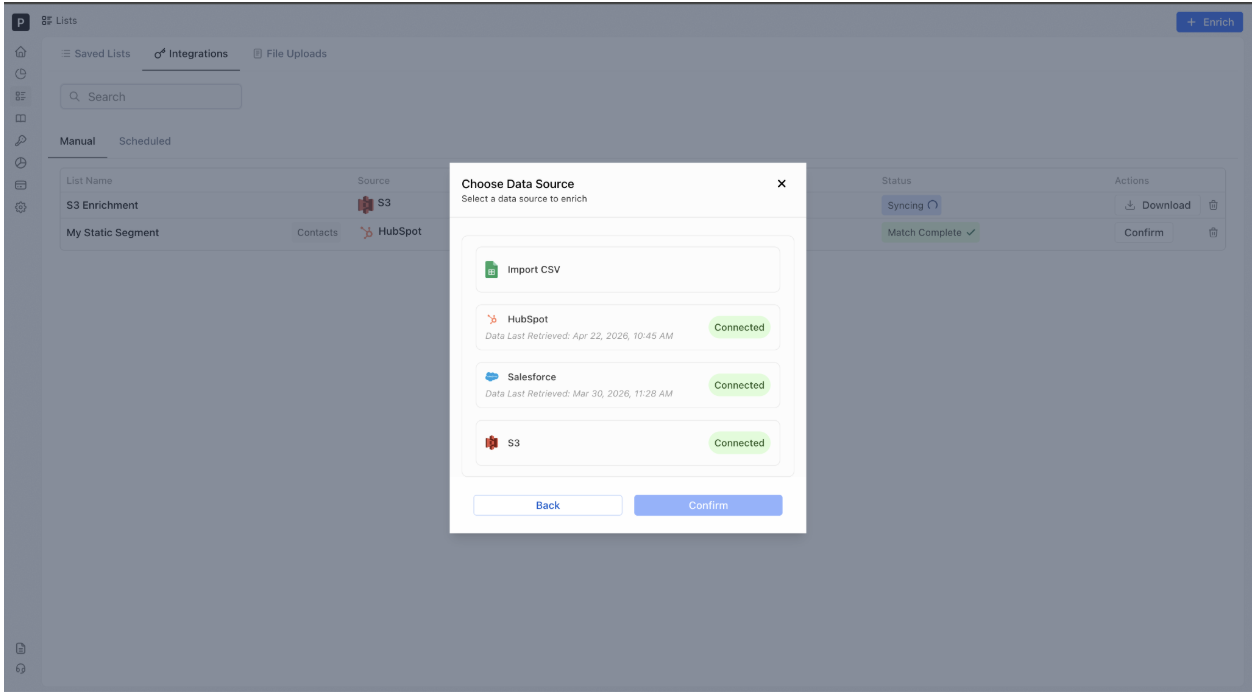
Step 4 - Enrich Data from S3
-
Open the Enrichment Module
-
Navigate to Lists → Enrich → S3
-
-
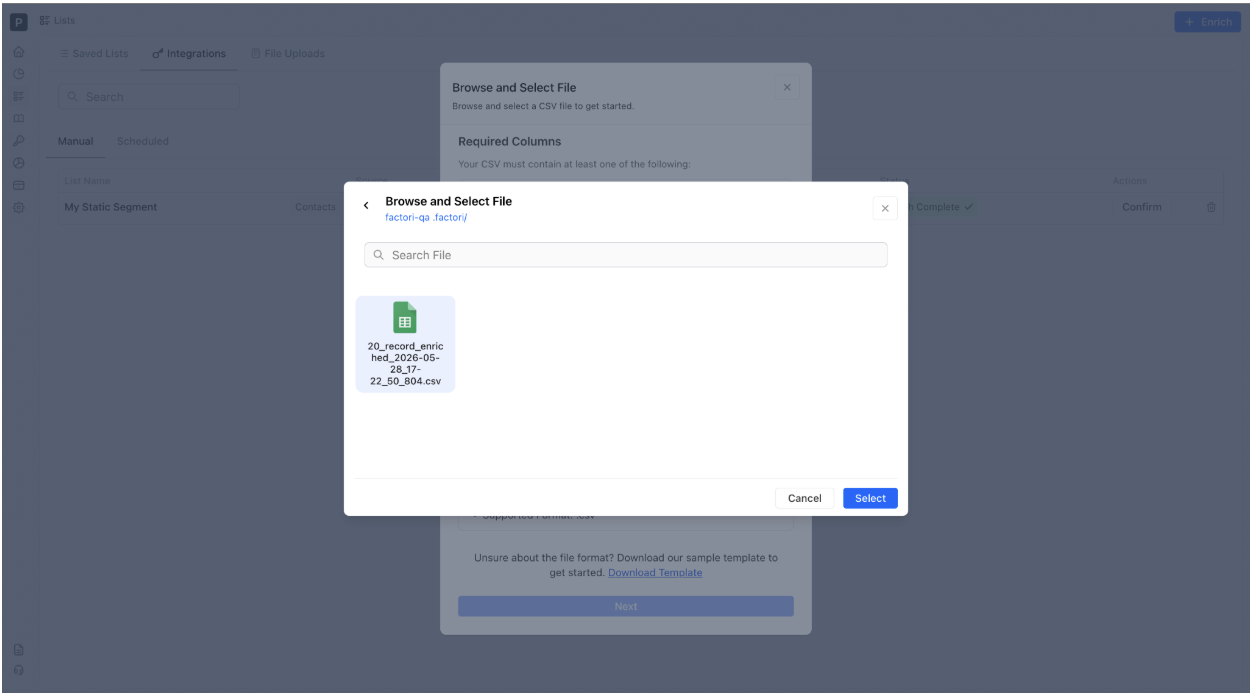
Select a File
- Browse and select the CSV file you want to enrich.
- Use the built-in Bucket Explorer to view available CSV files in your connected bucket.
- Requirements:
- Maximum file size: 500 MB
- Supported format: .csv only
- Map Your Fields
- Match your CSV column headers to the corresponding Factori fields.
- Map as many fields as possible to improve matching accuracy and enrichment quality.

-
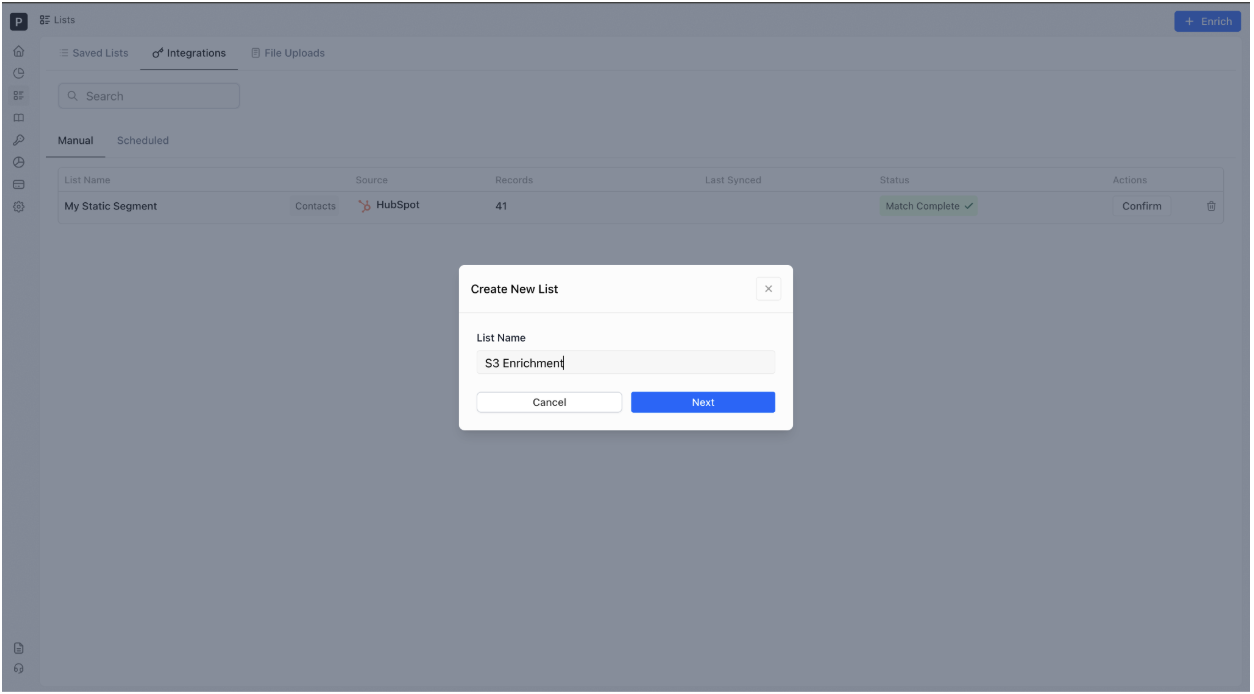
Name Your List - Enter a name for your list and click Next.
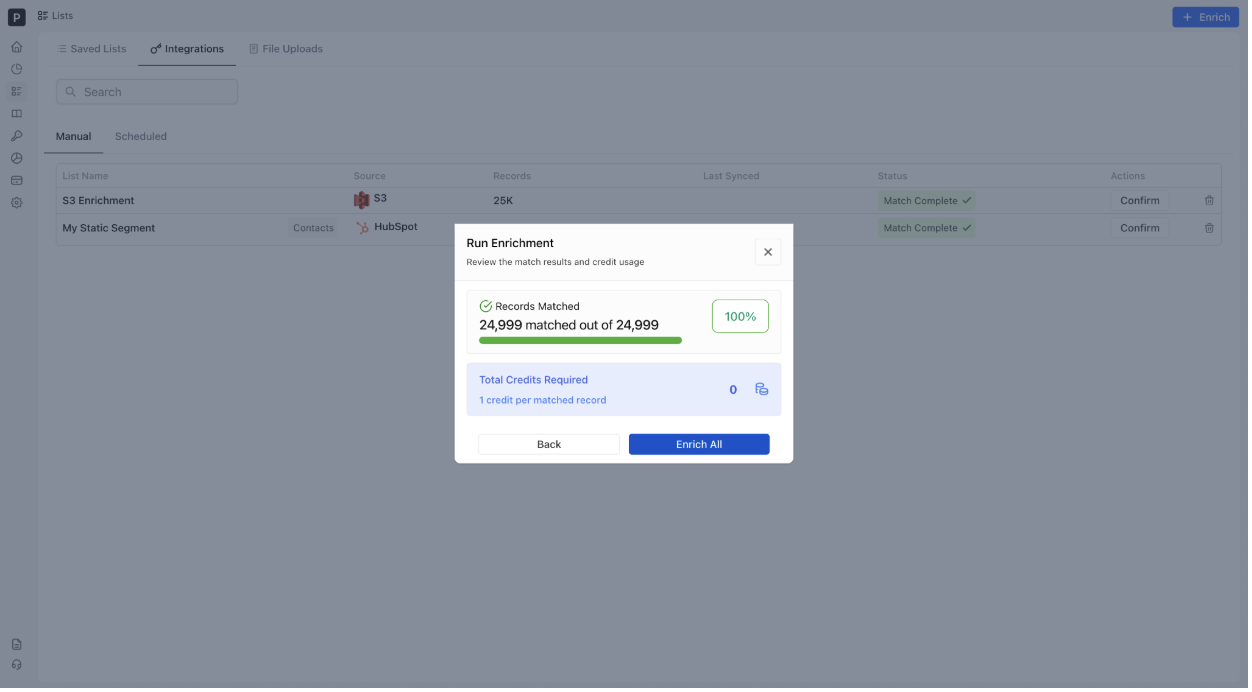
- Run enrichment
-
Review the estimated credit usage
-
Click Enrich All to start the enrichment process
-
- Review and Export Results
- Once enrichment is complete, your list will contain additional Factori data.
- Customize your view by selecting from 60+ available attributes.
- Download the enriched data as a CSV file if needed.
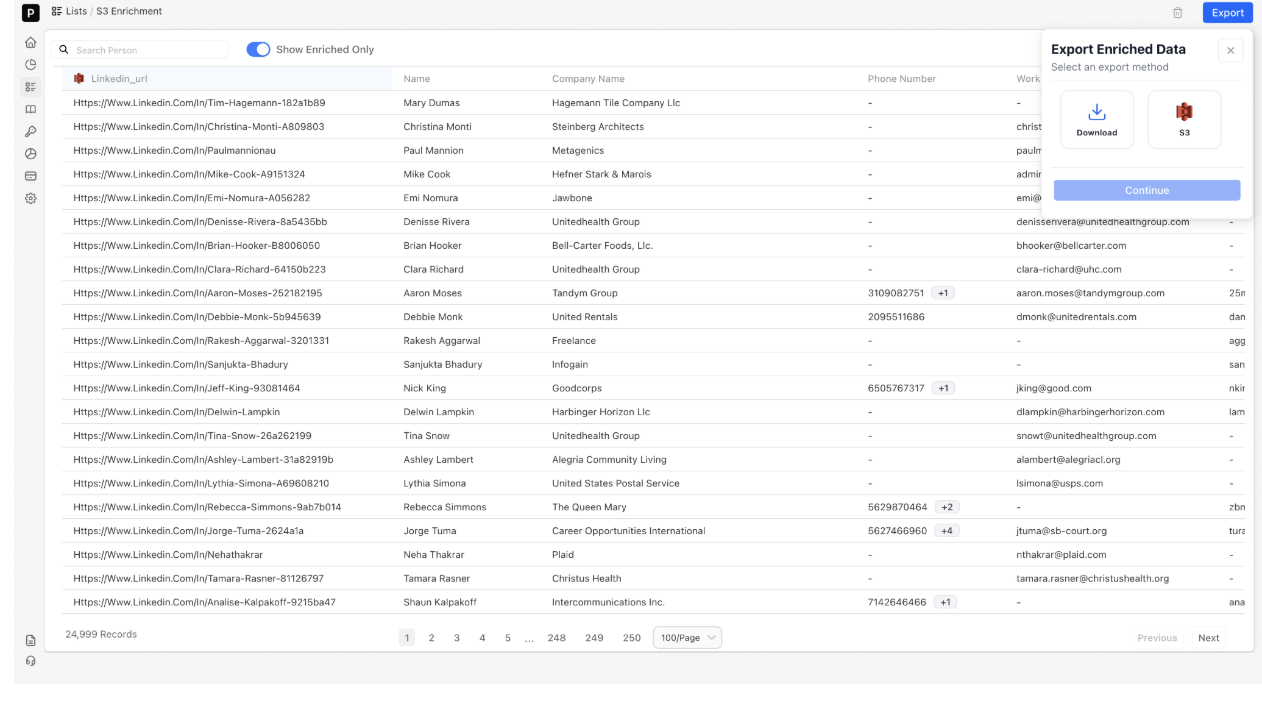

Step 5 - Export Back to S3
- Choose your destination:
-Use the Bucket Explorer to select a specific destination folder
-Or skip folder selection and export directly to the root of the bucket
What to expect:
- The exported file includes a timestamp
- It will be visible in the selected destination within your bucket shortly after export